A couple of summers ago, I started a small backyard garden. You would be amazed how much one or two plants can produce over the course of the season. Despite adding cucumbers to everything I ate and giving some away to my coworkers, I still had a huge number left over. As a result, I got into something I hadn’t thought about since I was a child in my grandmother’s garden—canning.
The first thing I did was head to the grocery store for a canning kit. Luckily, you don’t need a lot of expensive equipment to get started. I also bought some special pickling spices that give flavor to the pickles while helping keep them crunchy. It really was that simple. Of course, there are other considerations depending on what you are looking to can. (You can also go wild and make something like Koolickles.)
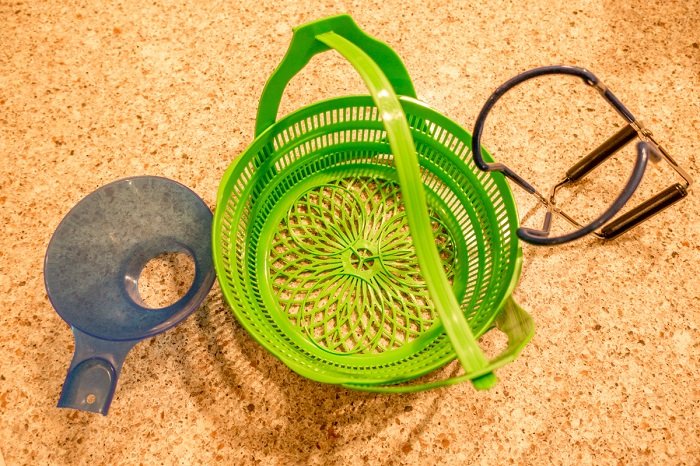
Recommended supplies:
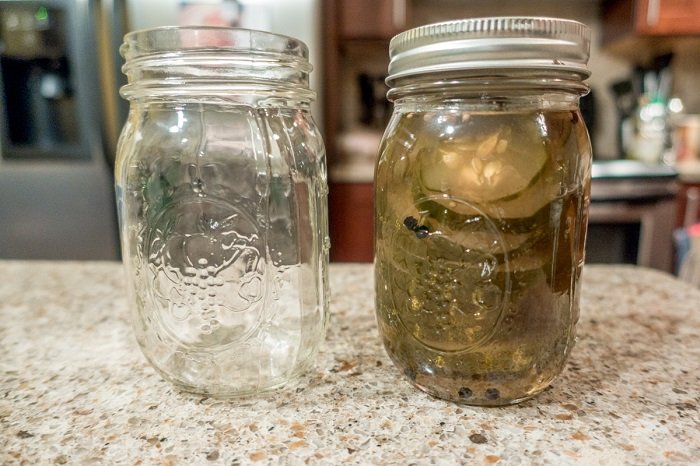
- Mason jars and lids
- Basket to lower the jars into the pot
- Tongs to lift jars
- Funnel
- Pickling spices
This kit is a great way to get started. Just add jars and spices.
Pickles and other high-acid foods do well with water bath canning, a shorter, lower-temperature canning process. Other foods that work well with this process include jams, salsas, and chutneys. Another technique called pressure canning works in preserving low-acid foods like certain vegetables and meats. Pressure canning works at a higher temperature that kills the bacteria. I like the simpler method. Plus, I find the idea of canned meat to be a bit gross.
When it comes to ingredients, use only the best, freshest vegetables, spices, and herbs. I always use the things I’ve grown, but if you’re purchasing the items you will can, examine them carefully.
Once you have all your ingredients together, the process is straightforward.
- Check the jars and lids to make sure there are no cracks or problems that will prevent sealing
- Clean your jars—I like to use very hot water at this step just to make sure that nothing is in the jar that I don’t want to be there
- Prep the ingredients—slice, dice, mix the herbs and/or spices
- Fill the jars
- Wipe the rims clean—using a funnel makes it easier to avoid the rims when filling the jars
- Screw on the lids and bands
- Place in boiling water, making sure to have at least one inch of water above the jar
- Boil for the suggested amount of time
- Remove the jars and cool
- Wait for that wonderful popping sound when you know the deal has formed
After that, store your jars upright and enjoy at your leisure. It’s so great to be able to enjoy the literal fruits of my labor year-round.
More helpful cooking items
IBelieveICanFry.com is a participant in the Amazon Services LLC Associates Program, an affiliate advertising program designed to provide a means for sites to earn advertising fees by advertising and linking to amazon.com, amazon.co.uk, amazon.ca. Amazon and the Amazon logo are trademarks of Amazon.com, Inc. or its affiliates.


